Build a simple WordPress website on Azure
Introduction
WordPress is one of the most popular website content management tools and when hosted on Azure you get an easy to use tool with the scalability and security that comes with Azure.
So lets get started
Logon to your Azure subscription
I like to create my Resource Groups in advance, but you can create this as part of creating resources.
So let’s create our Resource Group. My naming convention goes location-description-type. I use this naming convention for both resource groups and resources.
So lets go to Resource Groups within our subscription and click Add

Click Review + Create
If all look OK click Create
Let’s click on our resource group to open it before we create resources
Click + Add
In the Search the Marketplace box type WordPress and press Enter
Select the WordPress tile
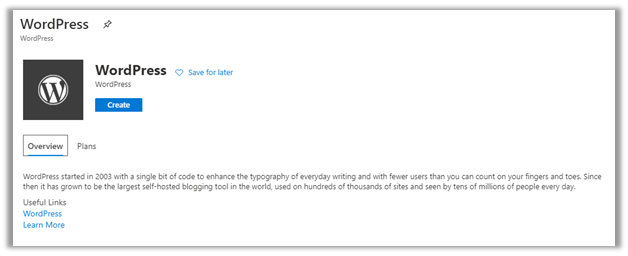
Click Create
Now we need to give the resources the names we want to use
- App name: ukz-MyBlog-app
- Subscription should be automatically
- Resource Group: Select Use existing and from the dropdown select the resource group you created above.
- Database Provider: Select MySQL in APP which is adequate for a small instance like this blog.
- App Service plan/Location: Click in the field and in the new window.
- Click Create new
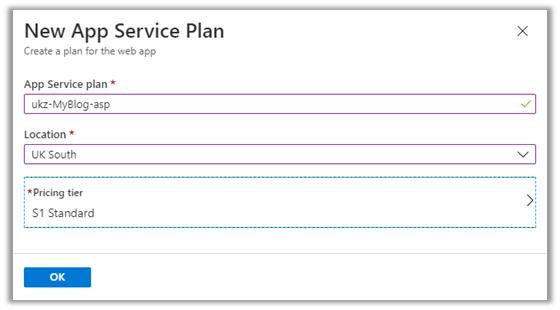
In the New App Service Plan window
- App Service plan: enter the name you want to use like ukz-MyBlog-asp
- Location: UK South
- Pricing tier: default is S1 Standard but you can change this either now or later. If you are just testing, click on this setting and select the Dev/Test free tier. You will probably need S1 tier for production as this allows custom domain names. I will use the default for this exercise.
- Click OK (it should look like the following screenshot)
This will drop you back to the WordPress create window.
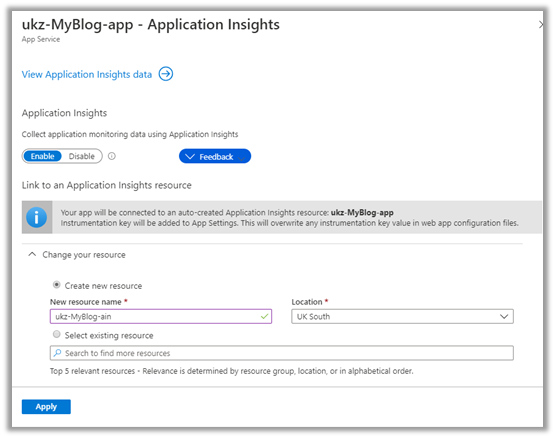
Application Insights: Click on the default text so you can follow your own naming convention.
- New resource name: enter name, e.g ukz-MyBlog-ain
- The other fields can be left as default settings
- Click Apply
This will drop you back to the WordPress create window.
We have now entered all the required fields for our resources.
click Create (it should look like the following screenshot)

After a minute or two your resources will be created.
The Notifications at the top right will let you know when the resources are ready.
You are now ready to start working on WordPress. Next steps will be covered in my next blog.